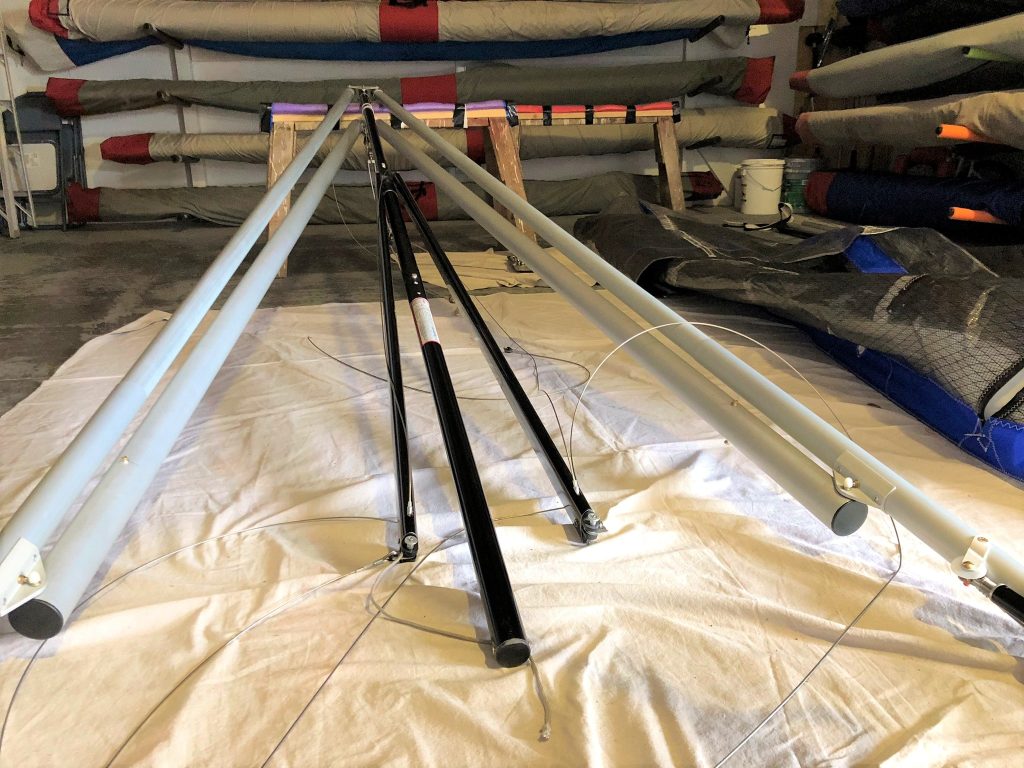
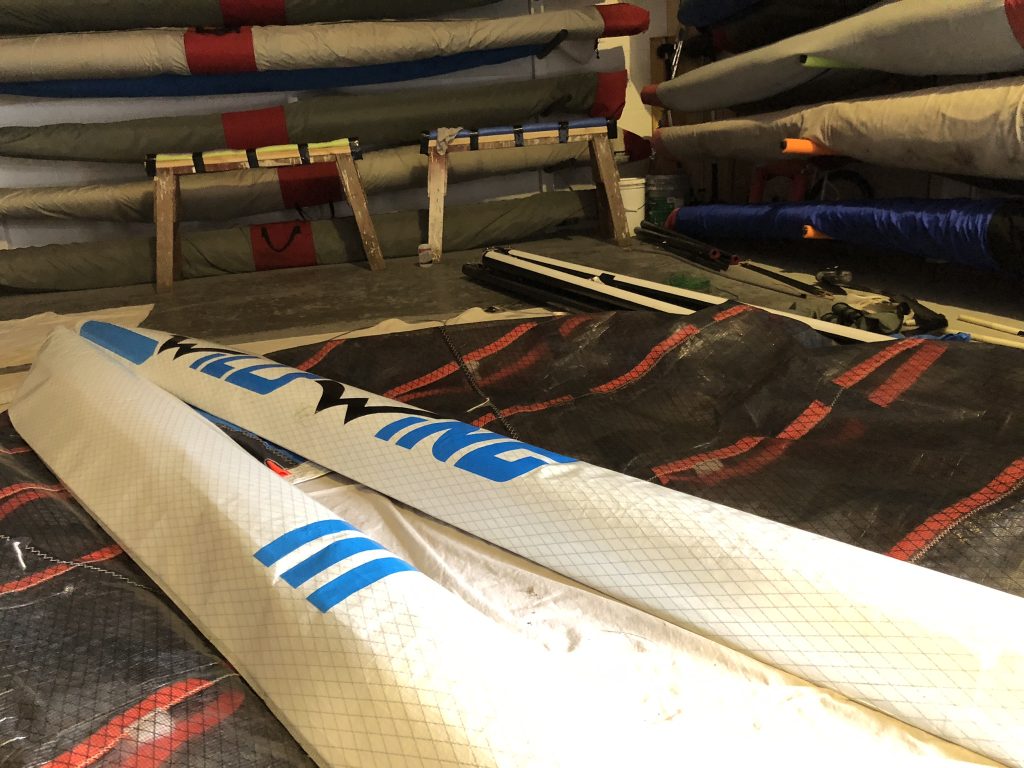
Also called an annual or “strip down” inspection. I recommend it every 2 years of frequent flying, which is what I do on my own gliders, or after major structural damage.
I always find things that need attention. There’s a reason that manufacturers recommend doing this even though the glider looks ok to you from the outside.
COMPONENTS INSPECTED
The inspection involves pulling the sail completely off the frame, inspecting the inside of the sail, and disassembling several parts to check for wear and damage.
- Bolts – bends, corrosion
- Safety Rings – bends
- Ball Lock Pins – sticking
- Nylon Washers – wear
- Frame Tubing – dents, bends, inside corrosion
- Battens – shape
- Batten Tips – strength, wear
- Batten Strings – fraying, shrinkage
- Tip Wands – cracks
- Sprogs – free movement
- Lock Nuts – torque
- Flying Wires – kinks, broken strands, torn coating
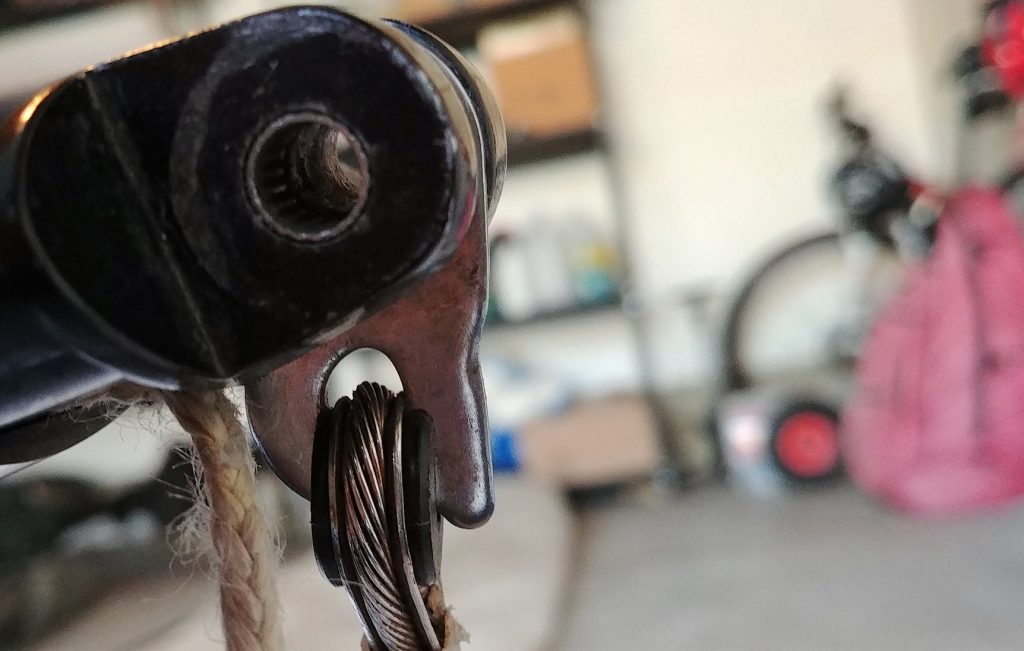
- Wire Tangs – bends, crushing
- VG Pulleys/Bearings – rust, damage
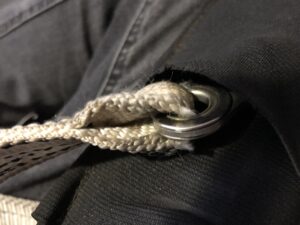
- Ropes – fraying
- Aluminum Fittings – bends, crushing
- Sail – condition, wear spots
I can fix most issues as I come to them, at additional cost.
TEST FLIGHT & TUNING
Before inspecting, I’ll ask you how the glider has been flying and see if I can fix any flying issues with a repair or adjustment.
I always do basic tuning during the inspection:
- Batten profiles
- Batten tension
- Spanwise sail tension
- Wingtip adjustments
- Sail position on frame
If the glider is repaired sufficiently and seems airworthy to me, I do a test flight at Funston.
ADDITIONAL MAINTENANCE
An inspection is a good time to address key maintenance items that I recommend on the same schedule, which I can do at half the normal rate during the process:
- new bottom side wires
- new hang loop (if worn)
- VG service (if needed)
The bottom side wires in particular are important to replace periodically.
Contact
or call David Kiesling 510-754-6842

